Saturday 22 February 2014

Work in progress: New Look 6184 (3)

I've been away for a few days - hence the inadvertent hiatus from blogging.  Before I went, though, I managed to progress a bit further with my dress.  Although it's taking a while, at the same time, I'm pleased with how it's going - and I really feel like I'm learning some new skills as well.

This was another one of those 'new skills' things - the bias binding at the arm holes of the dress.

I have used bias binding before, on my summer top, but as I'm sure it won't surprise you to hear, I was winging it a bit.  That pattern had called for double fold bias binding (although it didn't actually say so, might I add!) and so the single fold bias binding I bought had to be folded again and ironed.  The pattern this time actually said 'single fold bias binding', so I finally knew what I should be looking for! I've actually yet to see double fold bias tape here in the UK - and when I spoke to the girl in Fabricland, she said she thought it was an American thing!

I found this tutorial, which was really useful in explaining exactly how the binding should be used.  I read through this a few times, and suddenly the instructions in the pattern finally made sense!  It was amazing how much more confident I felt in getting the arm holes finished - I just wished I'd done that the first time!

Here's how it's done...

1) Open out one fold of the bias binding, and pin it to the right side of the fabric around the arm hole.  Then sew along the fold in the binding, keeping as accurate as possible on the fold that already exists.


2) Then fold the binding again, at the sewn edge.  The binding will look like a continuation of the armhole.  To ensure it folds under as evenly, under stitch as close to the edge of the binding as possible, stitching it to the fabric below.  This gives the fabric a natural turn, so that the binding can then be folded under.  If anyone is watching the Great British Sewing Bee, May Martin did give a little tutorial on under stitching in week 1 - I felt very pleased that I could do what she was talking about!

Before under stitching
After under stitching
3) Pin the binding to the inside of the armhole.  You can then baste the binding to the fabric from the inside if you want, before top stitching the binding to the fabric from the right side of the fabric.  The basting would allow you to see where the binding actually was, so you didn't go over the edges - although I didn't bother with it.


Ta-dah....!


So, apart from the zip, the bodice is now completely finished!  I'm getting there - soon all I will need it somewhere to actually wear it!

In other news, when I bought my dress form, I also got another few bits to make my sewing life easier...


The rotary cutter and self healing mat were an absolute revelation. I suppose I had been a bit dubious before about how much better than scissors it really would be...but wow. Consider me convinced.  I am absolutely loving them - I just want to cut out stacks of fabric now!  Although I'm sure the feeling will wear off soon!  Lets hope not before the dress is finally finished...!

Thursday 6 February 2014

Crocheting clothing - a first try!

I've been happily accumulating wool now for a while - as well as crocheting magazines - on the understanding that I would actually start challenging myself more than the scarves and hats that I've been making so far!  As with sewing, what I really want to do was make myself clothes. While I was in America, I bought Custom Crocheted Sweaters.  It really appealed to me - particularly as the sweaters mainly weren't really 'holey', like a lot of crochet garments.  Lots of holes in a sweater doesn't appeal to me, because it just means you have to wear an extra top underneath - defeats the point of wearing a sweater, to my mind!


At the weekend, I finally took the plunge and thought I would get started.  I had already chosen the pattern that I wanted to start with - the shawled collar tunic, which was one of the recommended starter patterns. The pattern recommended merino wool, but I had bought a Rowan Cotton Alpaca blend at the Knitting and Stitching Show which I really wanted to use, so I just went for it with that, and so far, it's crocheted up really nicely.

Here's what I had done by Monday night - half of the back.  Sorry for the dodgy photography in this post by the way - poor lighting due to the fact they were taken at night!


The stitches are a combination of double and treble crochets (single and double, for American readers, and according to the book!).  It gives a really nice, almost shell like finish, as you can hopefully see below.  Every few rows there is an increase row followed by a decrease row, giving a raised finish at the bottom of the tunic. Unfortunately on my first try of the increase row I didn't read the pattern properly and so had completed 5 rows and then had to pull them out - particularly difficult with this rather fuzzy wool which then kept breaking.  Note to self - if it doesn't make sense - think long and hard before proceeding!


I'm now about half way through the crocheting of the other side of the back - happily, it seems to be proceeding fairly smoothly. I did do a quick measure to see how my alternate wool was holding up in terms of the gauge. Interestingly, although it's the right width at the shoulders and bust, it's a bit shorter than expected - only 22" long rather than 24". Based on my general shortness, and the scienctific method of 'holding it up against me' I don't think that's going to be an issue, but I'll do my best to remember to measure a bit earlier in future - to avoid massive unpicking, which I've already learn isn't a fun activity for an evening!

I'm really enjoying trying something new and seeing this creation grow - hopefully I'll have a finished (or almost finished!) article to show off soon!

Monday 3 February 2014

Special delivery!

Hmmm....what could be in this rather massive box...


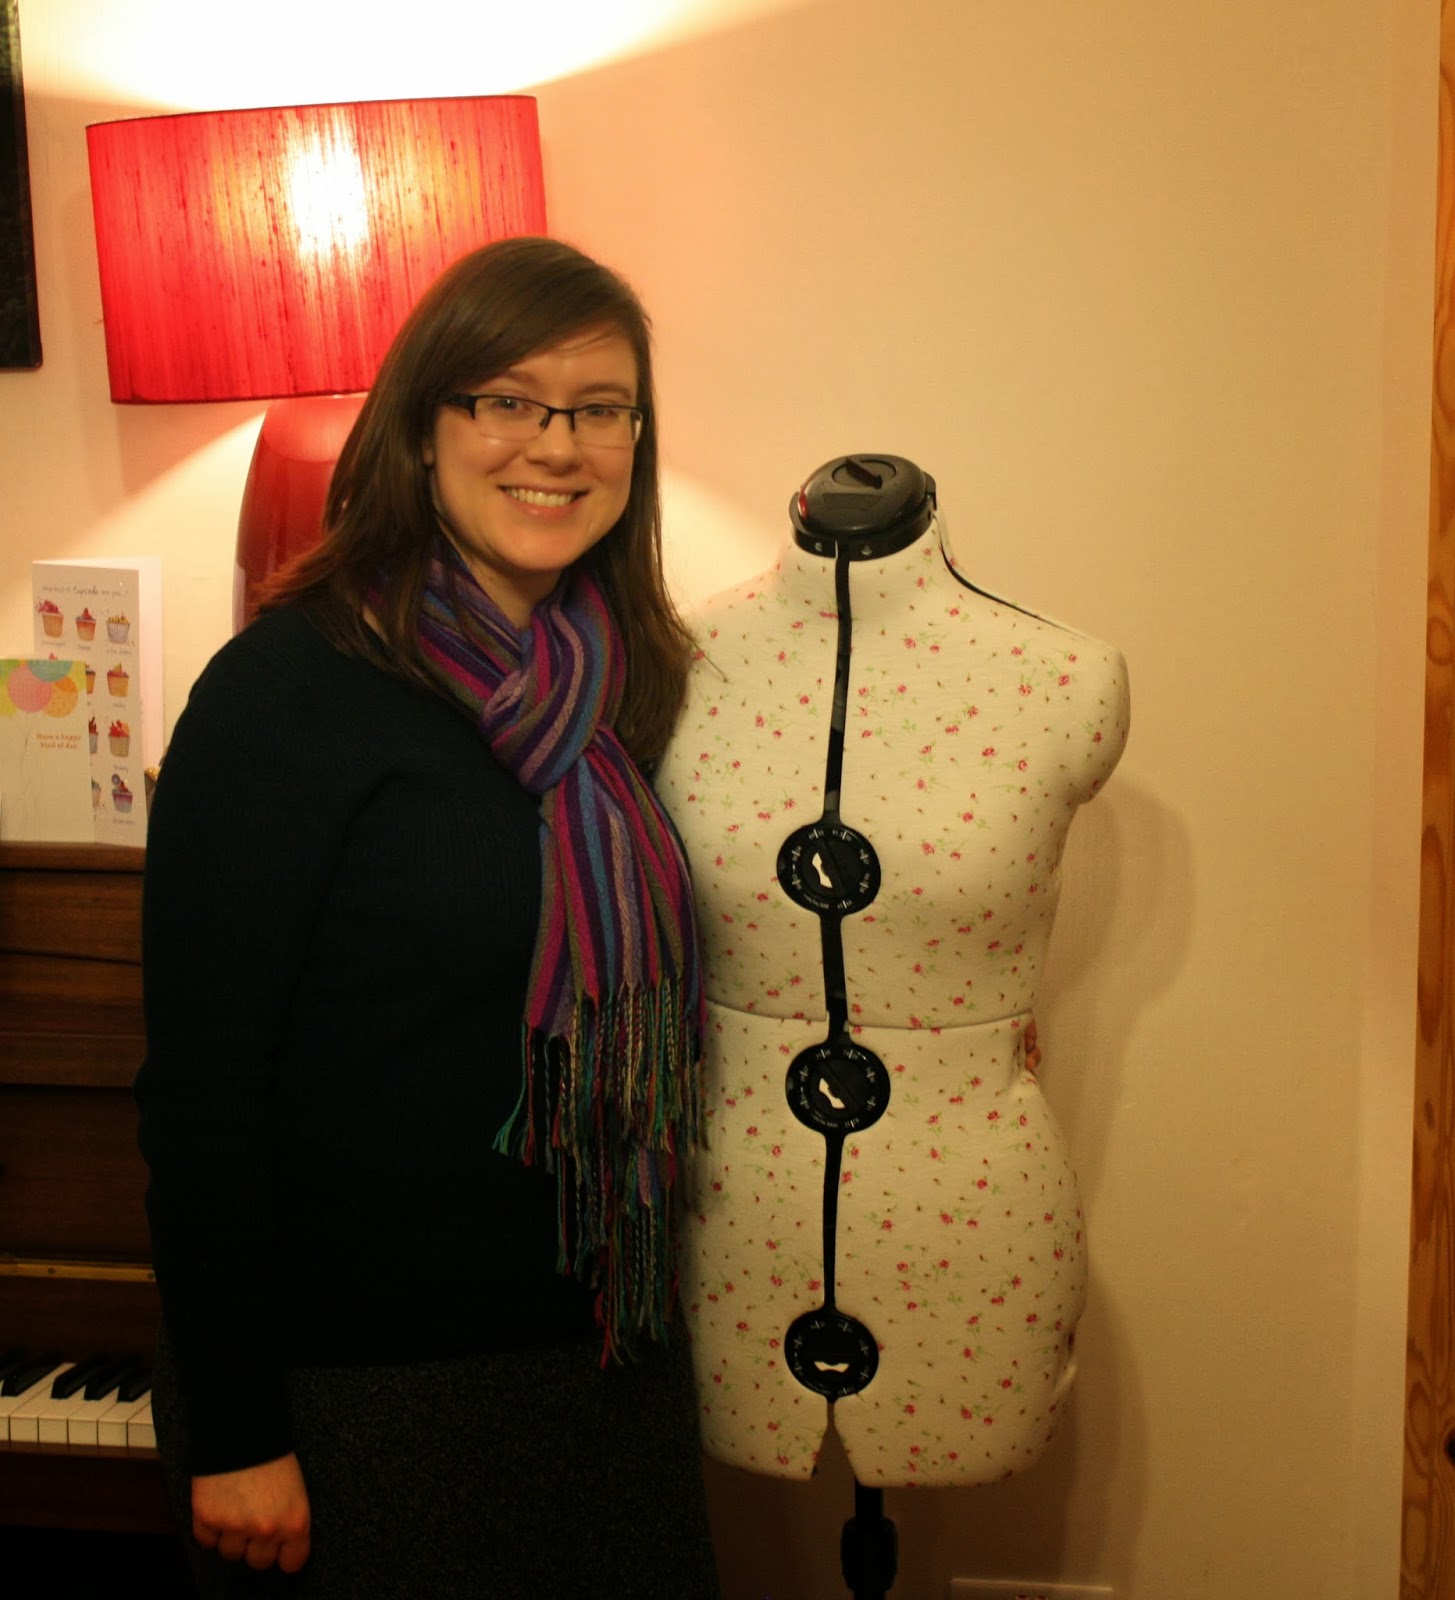
Hurray!!!  My new dress form has arrived!


I've been thinking for a while about getting a mannequin for making my clothes, but hadn't really investigated it in too much detail.  I'm not exactly average size - short, and not exactly as skinny as I used to be either, so an adjustable dress form was the way to go, rather than a fixed size mannequin, but they don't come cheap, so I'd really just decided it wasn't likely to be for me.  However, last week I got some Amazon vouchers from work, and I had some birthday money, and it seemed to just all come together, so I could buy this lovely present for myself!


I got this 8 part adjustable dress form - it allows you to change bust, waist and hip size, and even make her shorter / taller and lengthen the waist if required!


As well as that, she's also made from rather adorable floral fabric - so she'll be perfect in my new sewing room which is gradually coming together!


As well as generally having another body to put my clothes on, rather than attempting to scramble in and out of my own in an undignified manner, what seemed great about having a dress form is the hemming.  I've struggled trying to get my hemlines straight when I make skirts myself - it's really hard to tell in the mirror if it's straight, whereas now I'll be able to tell much more easily!


I can't wait to get her into position (rather than standing rather awkwardly here beside our piano) and get her to work!  Any ideas for a name...?